How I turned three DIY flops into bold, textured art using materials we already had in the storage room
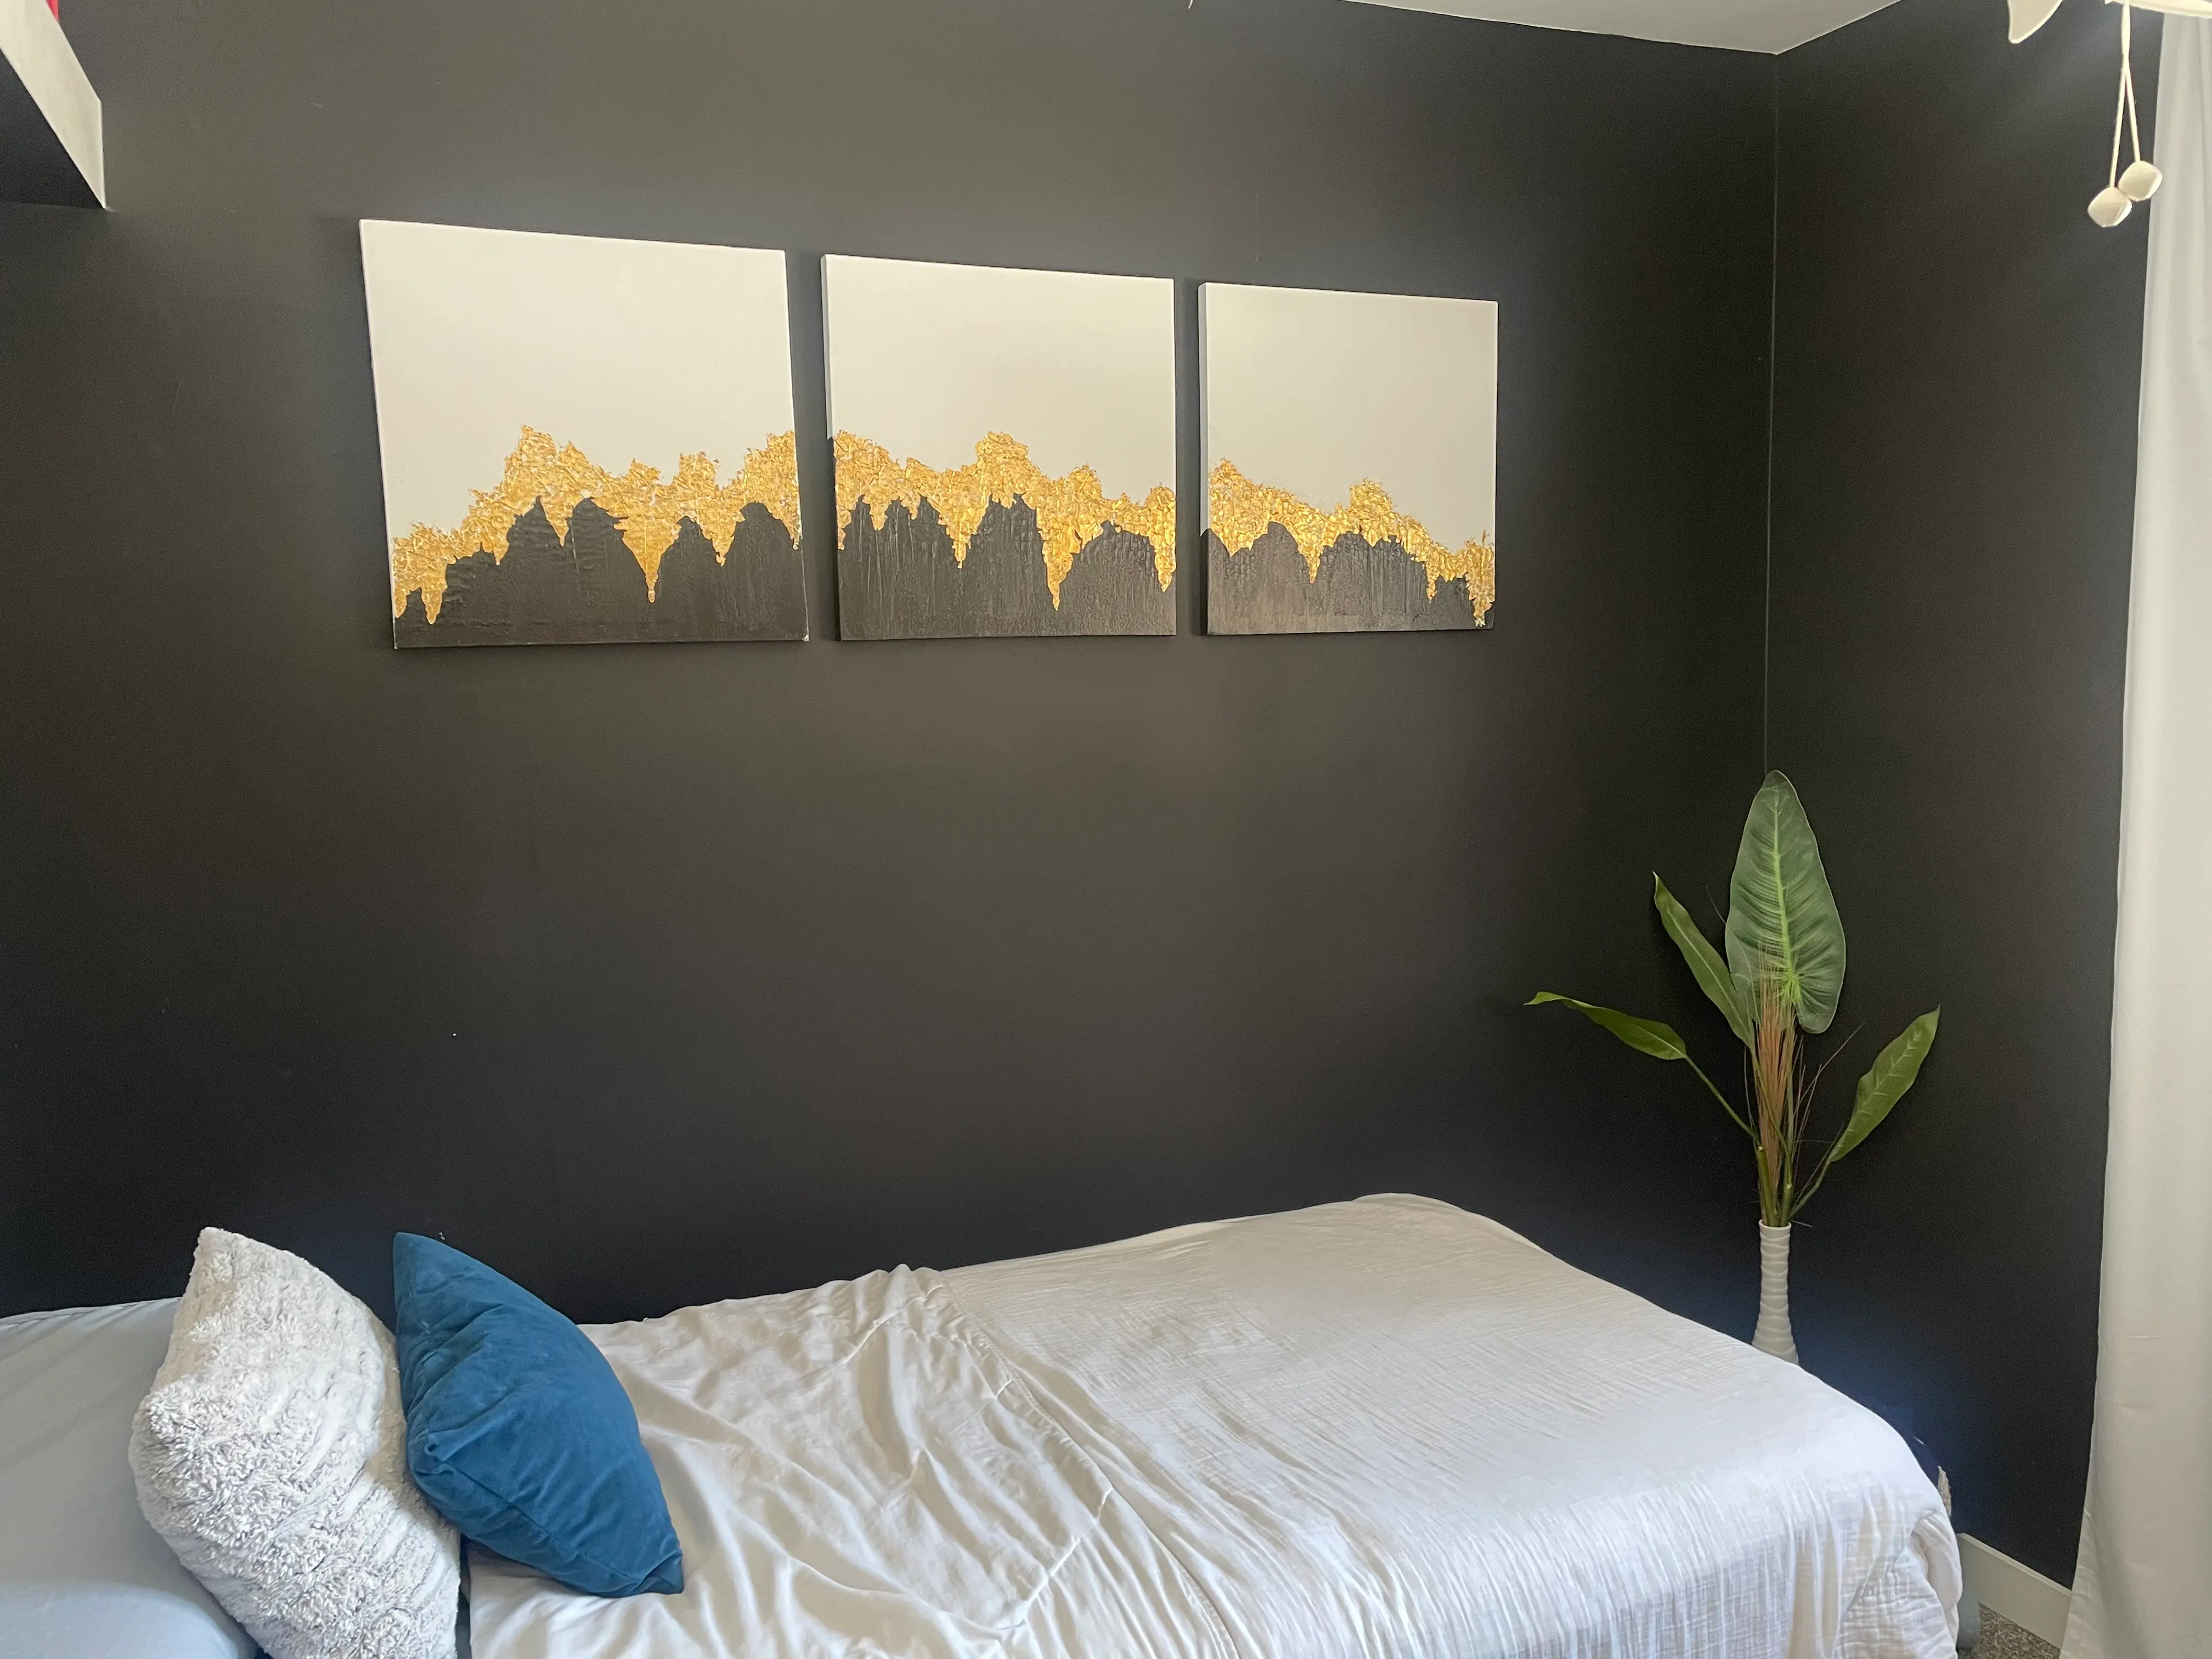
I've had these three canvases for nearly twenty years. They were a cheap set of large floral prints from Jysk—black background with oversized flowers. I liked them for a long time and they always worked in my apartments. But eventually, I got tired of them and tried turning them into abstract gold mountains.
They turned out nothing like I'd imagined. I hung them up anyway and tried to like them, but I never did. I even painted the bottom half black instead of white, hoping it would help. It didn’t.
They actually ended up being the inspiration for my DIY Fails Post. I was tempted to toss them, but after holding onto them for so long, I decided to try one last time. I’d been seeing lots of textured art online and figured it was worth a shot.
My Plan for Fixing Them
My goal with the new paintings was to bring in warmer tones and more green—definitely no metallics this time. I wanted them to feel bolder, more modern, and better suited to the overall look of the room.
For this project I used:
- Dry Dex brand Spackling
- Tile Adhesive
- A spatula and a few little plastic spreaders
- A metal square notch trowel
- A small paint brush
- Green, white and brown craft paint
The Process
I didn’t want to spend money fixing these paintings and was determined to use whatever I could find in the storage room. I started with a large tub of spackle, which was thick and a bit difficult to spread. I had to use a lot of it, and in hindsight, a thinner joint compound would’ve worked better.
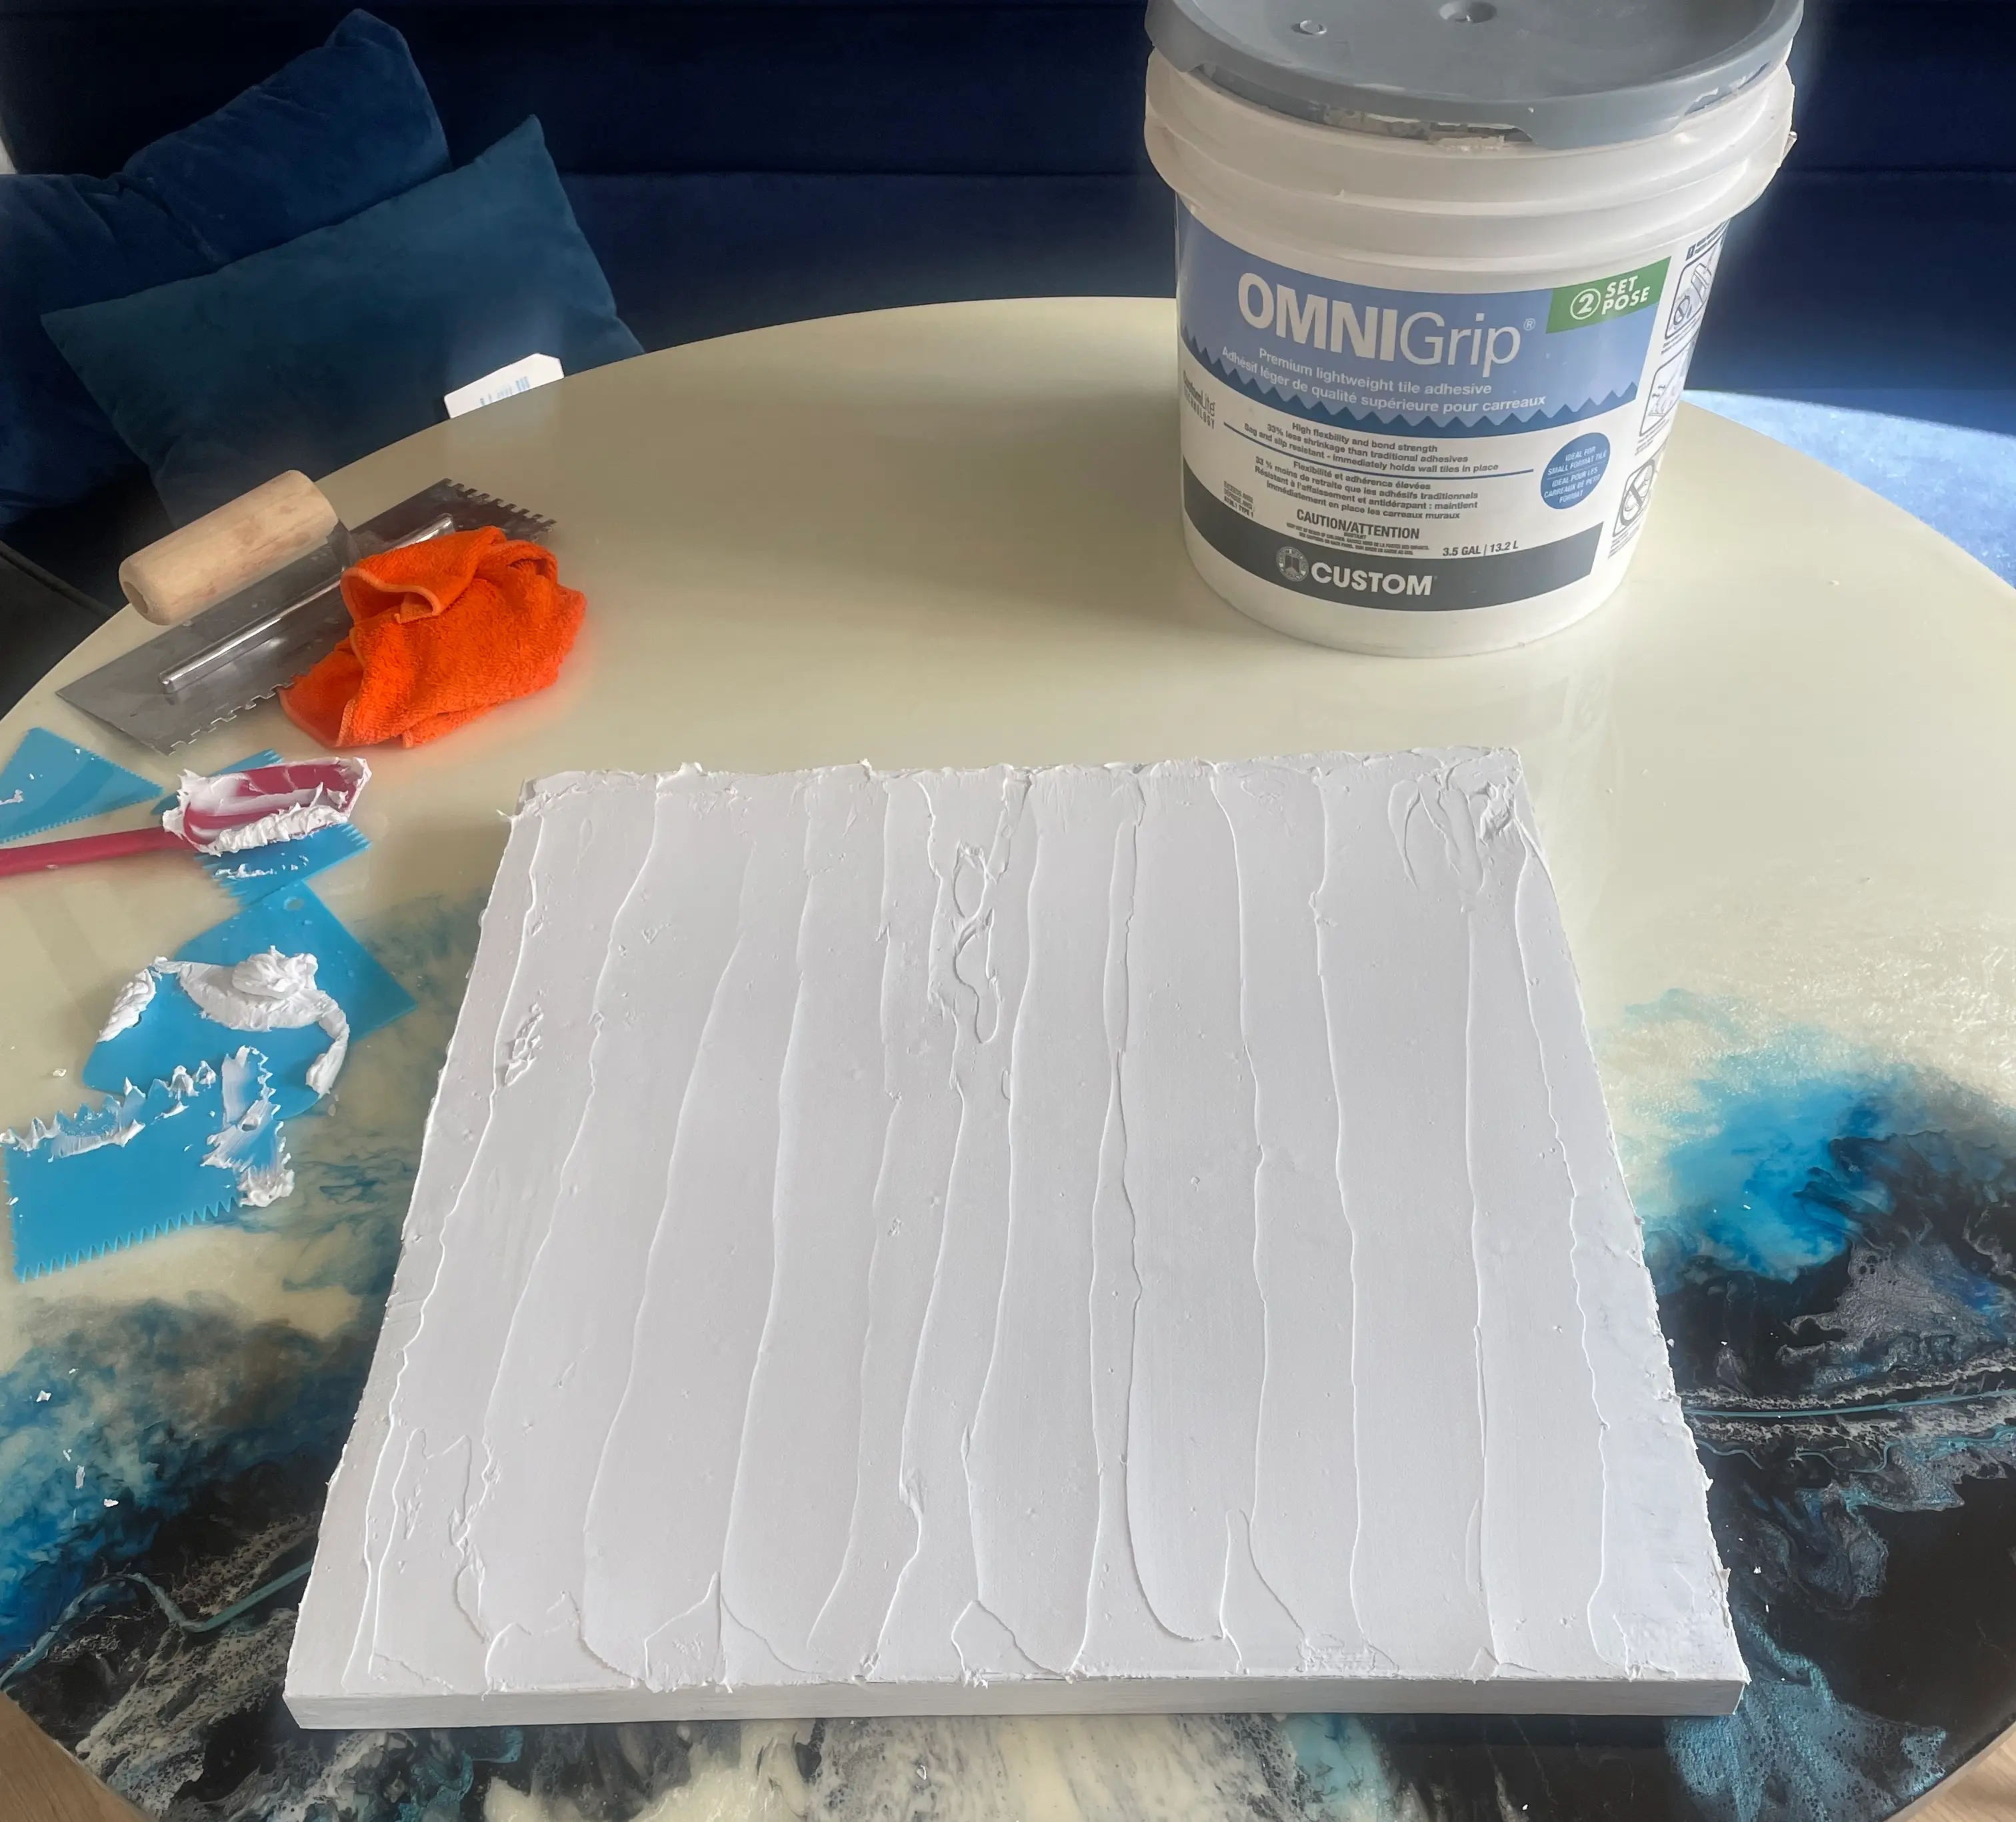
After finishing the first painting, I spotted a huge tub of leftover tile adhesive from our green tile backsplash upgrade. It didn’t smell great, but it was so much easier to spread and work with.
The project itself was really simple and straightforward—and surprisingly enjoyable. I just wish I hadn’t been in such a rush to get it done before my son got home, because there was no way I wanted him anywhere near that tile adhesive.
To create the texture, I applied a generous layer of spackle or tile adhesive, then used a square-notch trowel to create a circular pattern in the center and added straight lines along the edges or wherever it felt right.
This project is beginner-friendly and forgiving—if you don’t like your design, you can just smooth it out and try again.
Color Choices
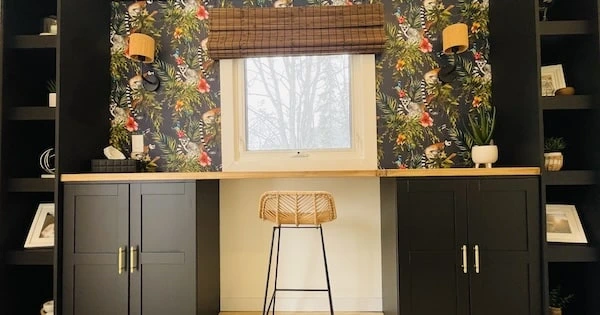
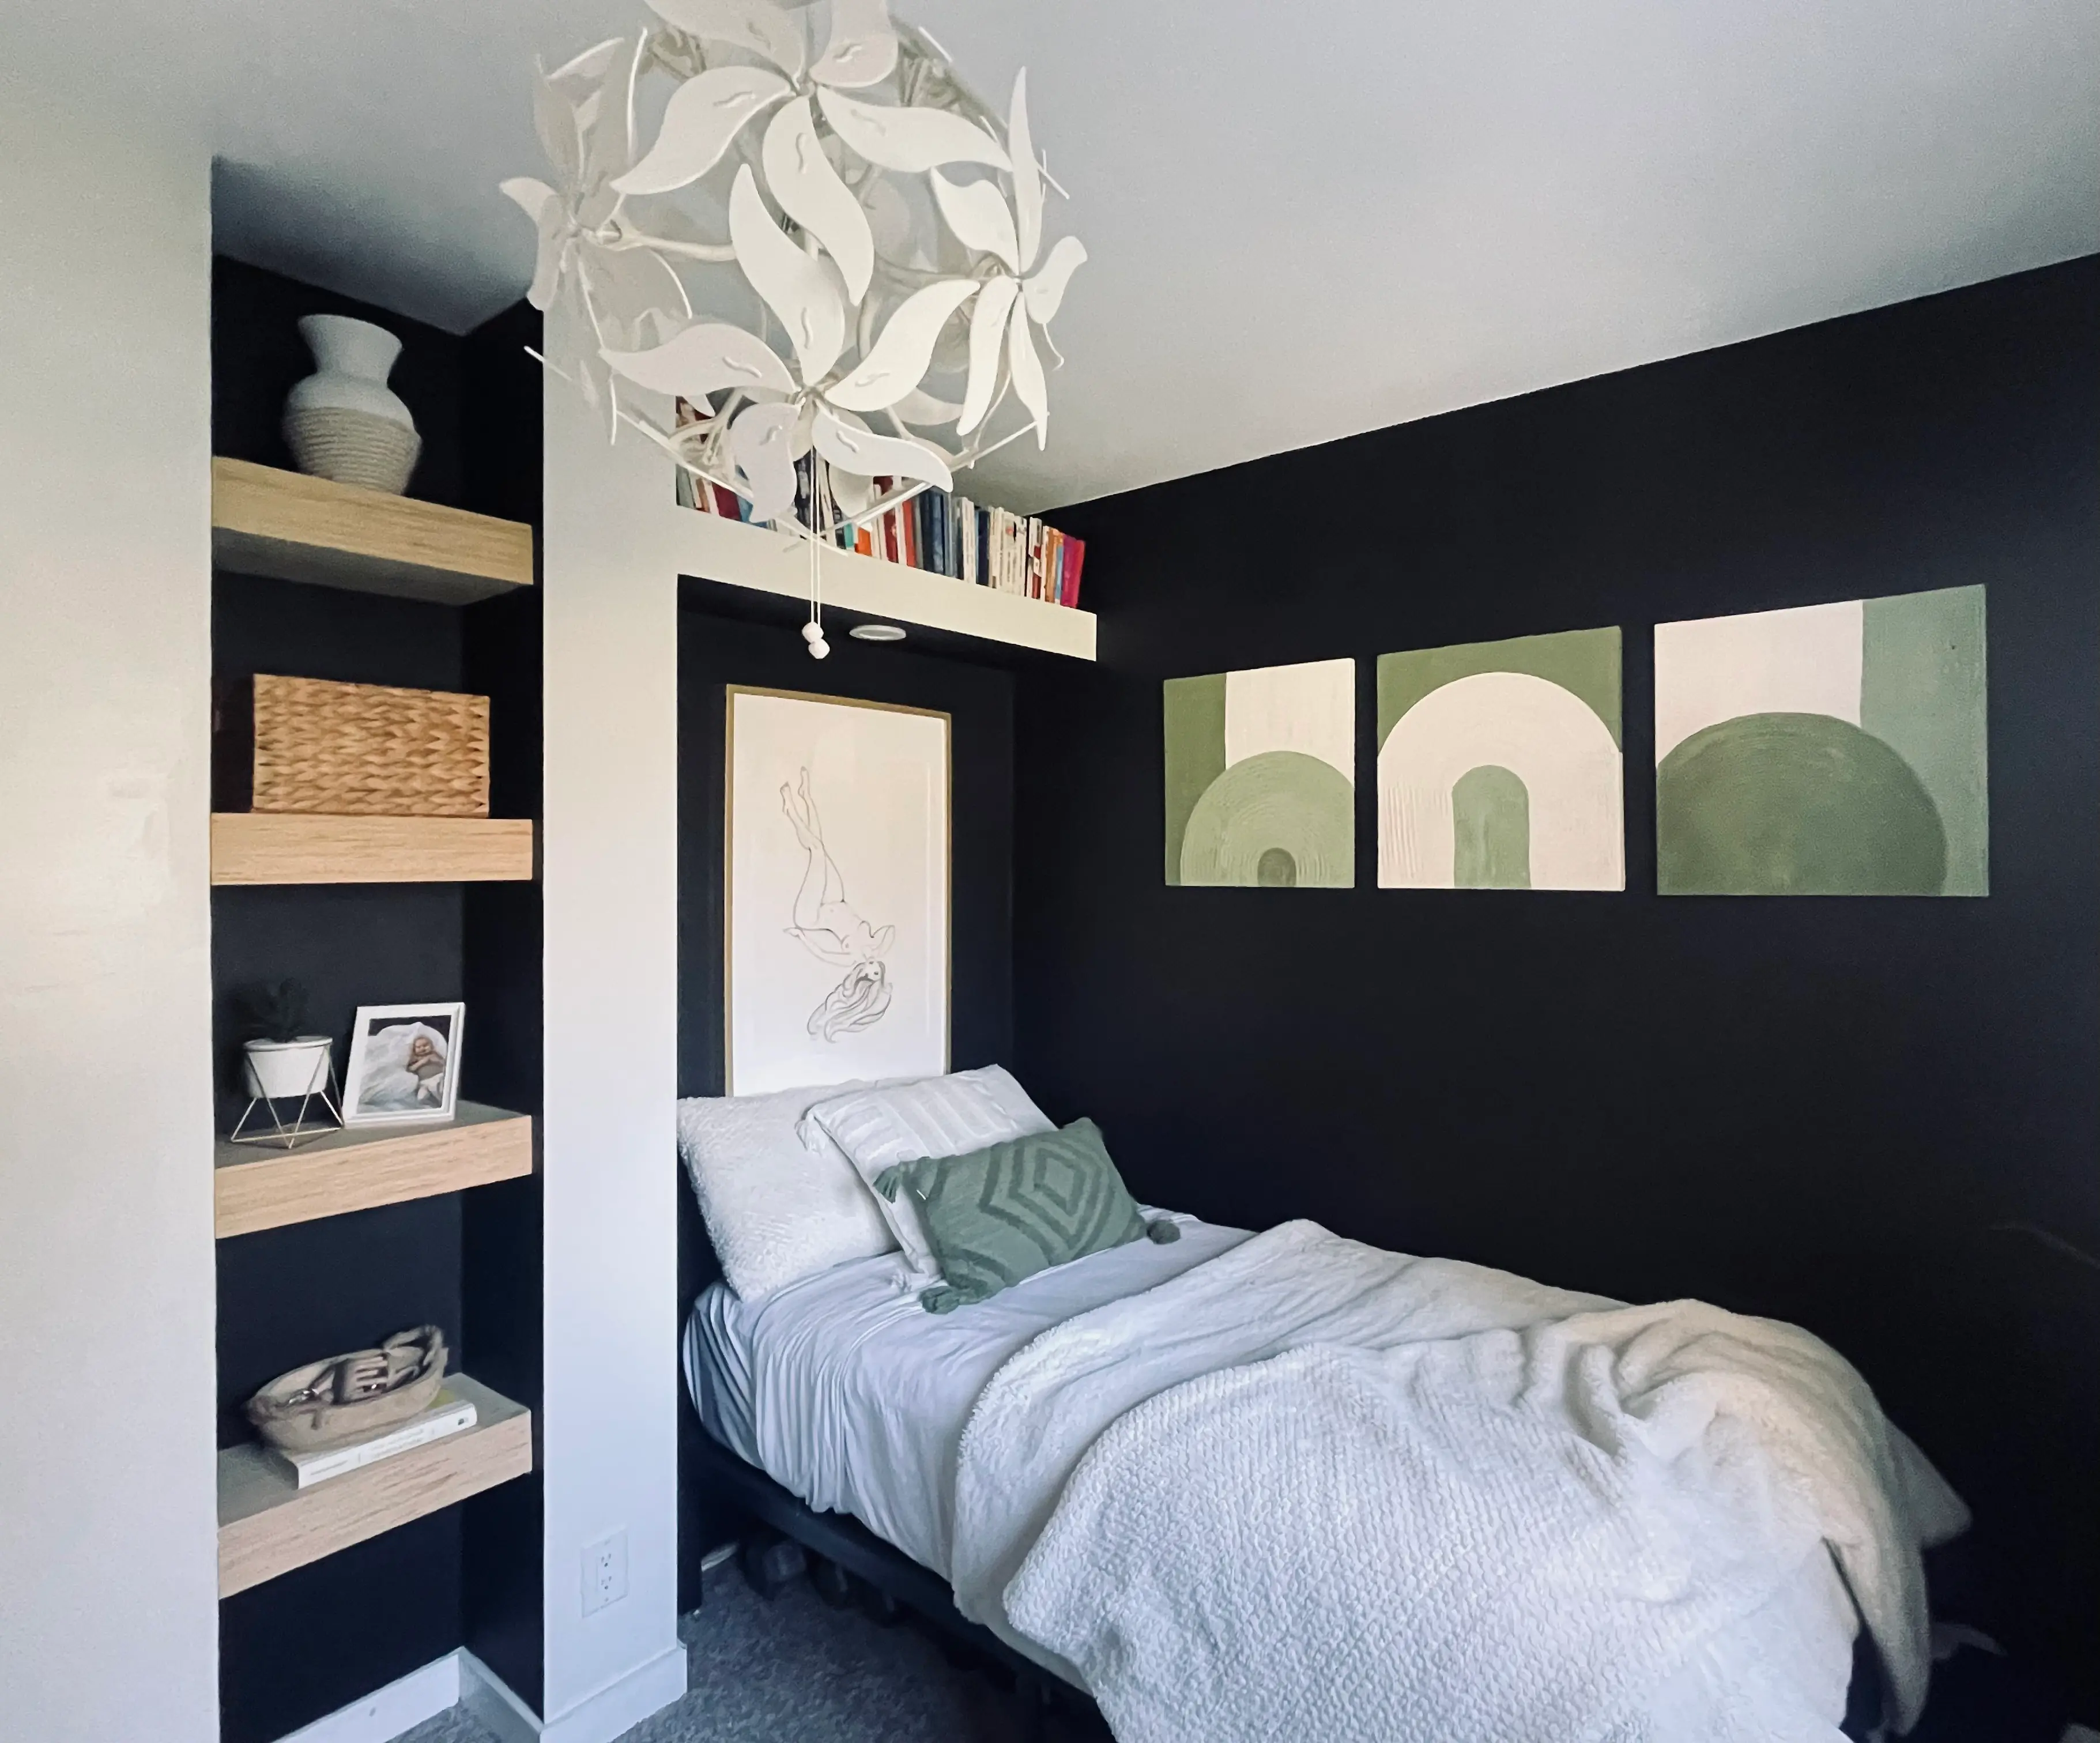
I wanted to warm things up in the room, and I kept coming back to this green chair I got a few months ago for the little desk by the built-ins. It has such a rich, earthy tone that felt like the right direction. I decided on two shades of olive green—one darker, one lighter—and a warm white-beige for contrast.
I already had white paint on hand, along with some yellow and brown to mix a warmer neutral for the lighter shade. I did end up spending $6 at Michaels on two small bottles of green craft paint—their cheapest kind. The darker green was perfect as-is, but I had to lighten the other one with white paint to create more contrast between the two.
Once I started adding the color, the paintings really came to life. Keeping the palette simple and using tones that complemented each other helped them feel cohesive without being too busy.
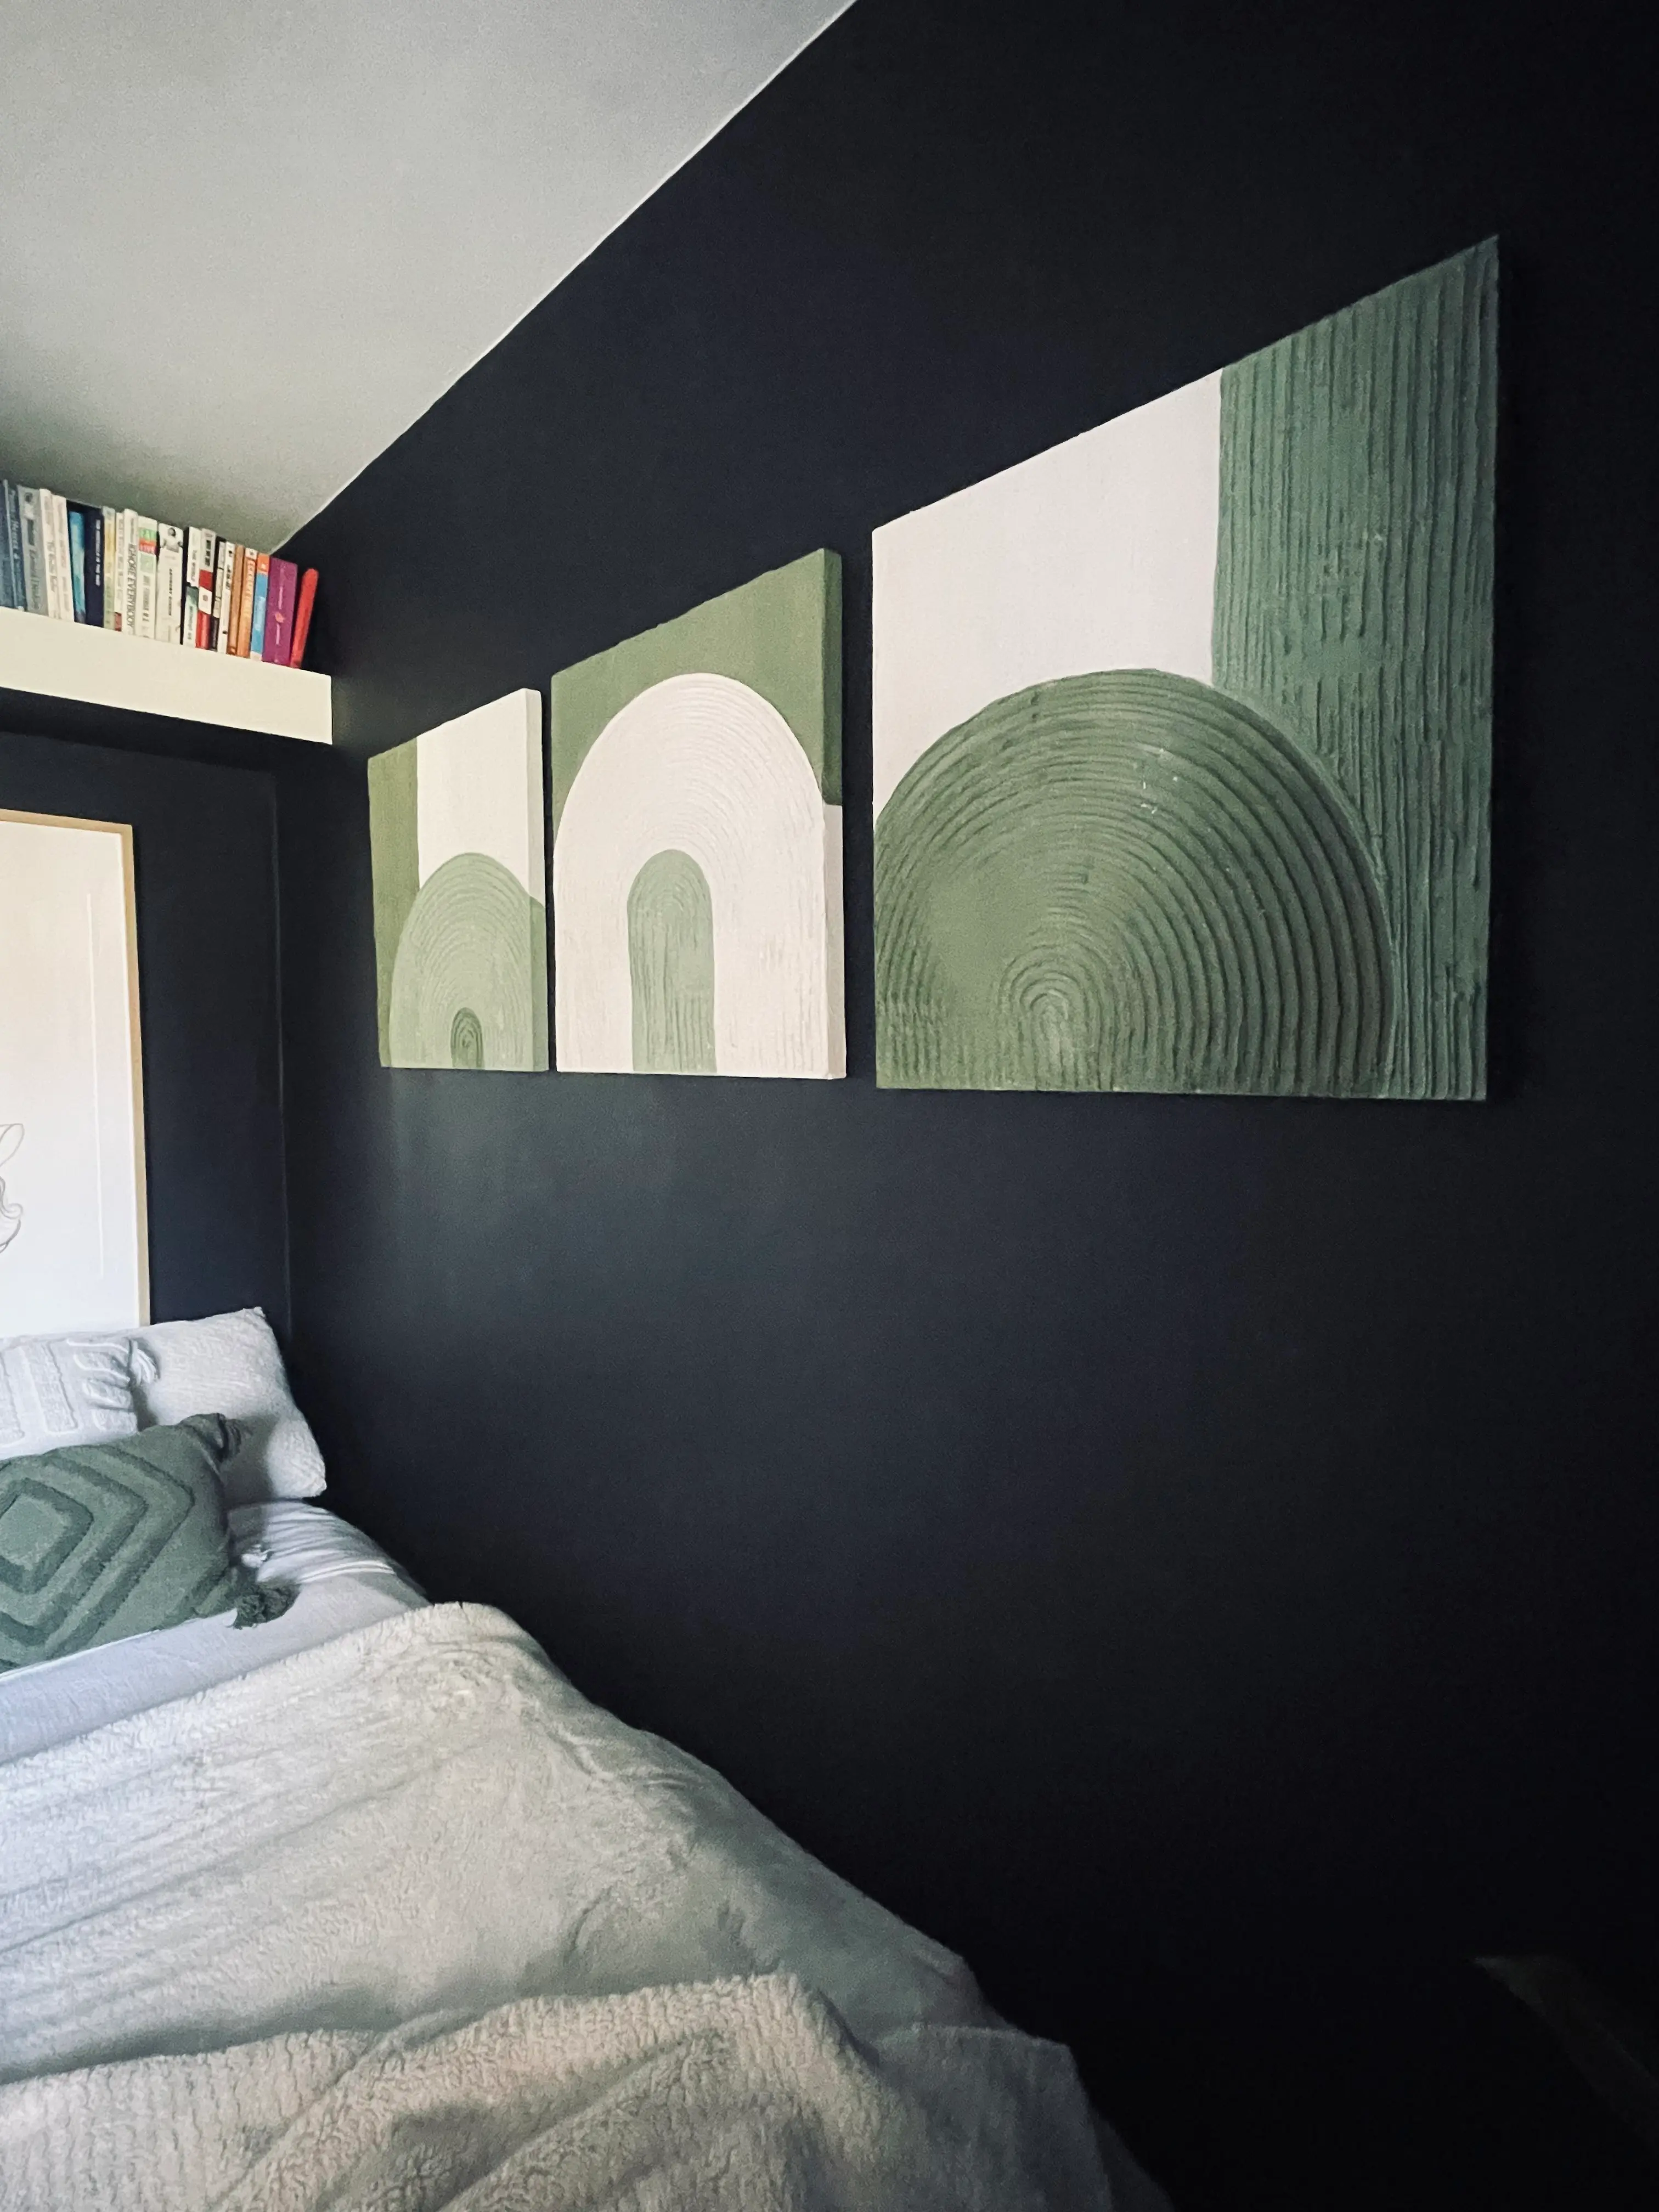
The Final Result
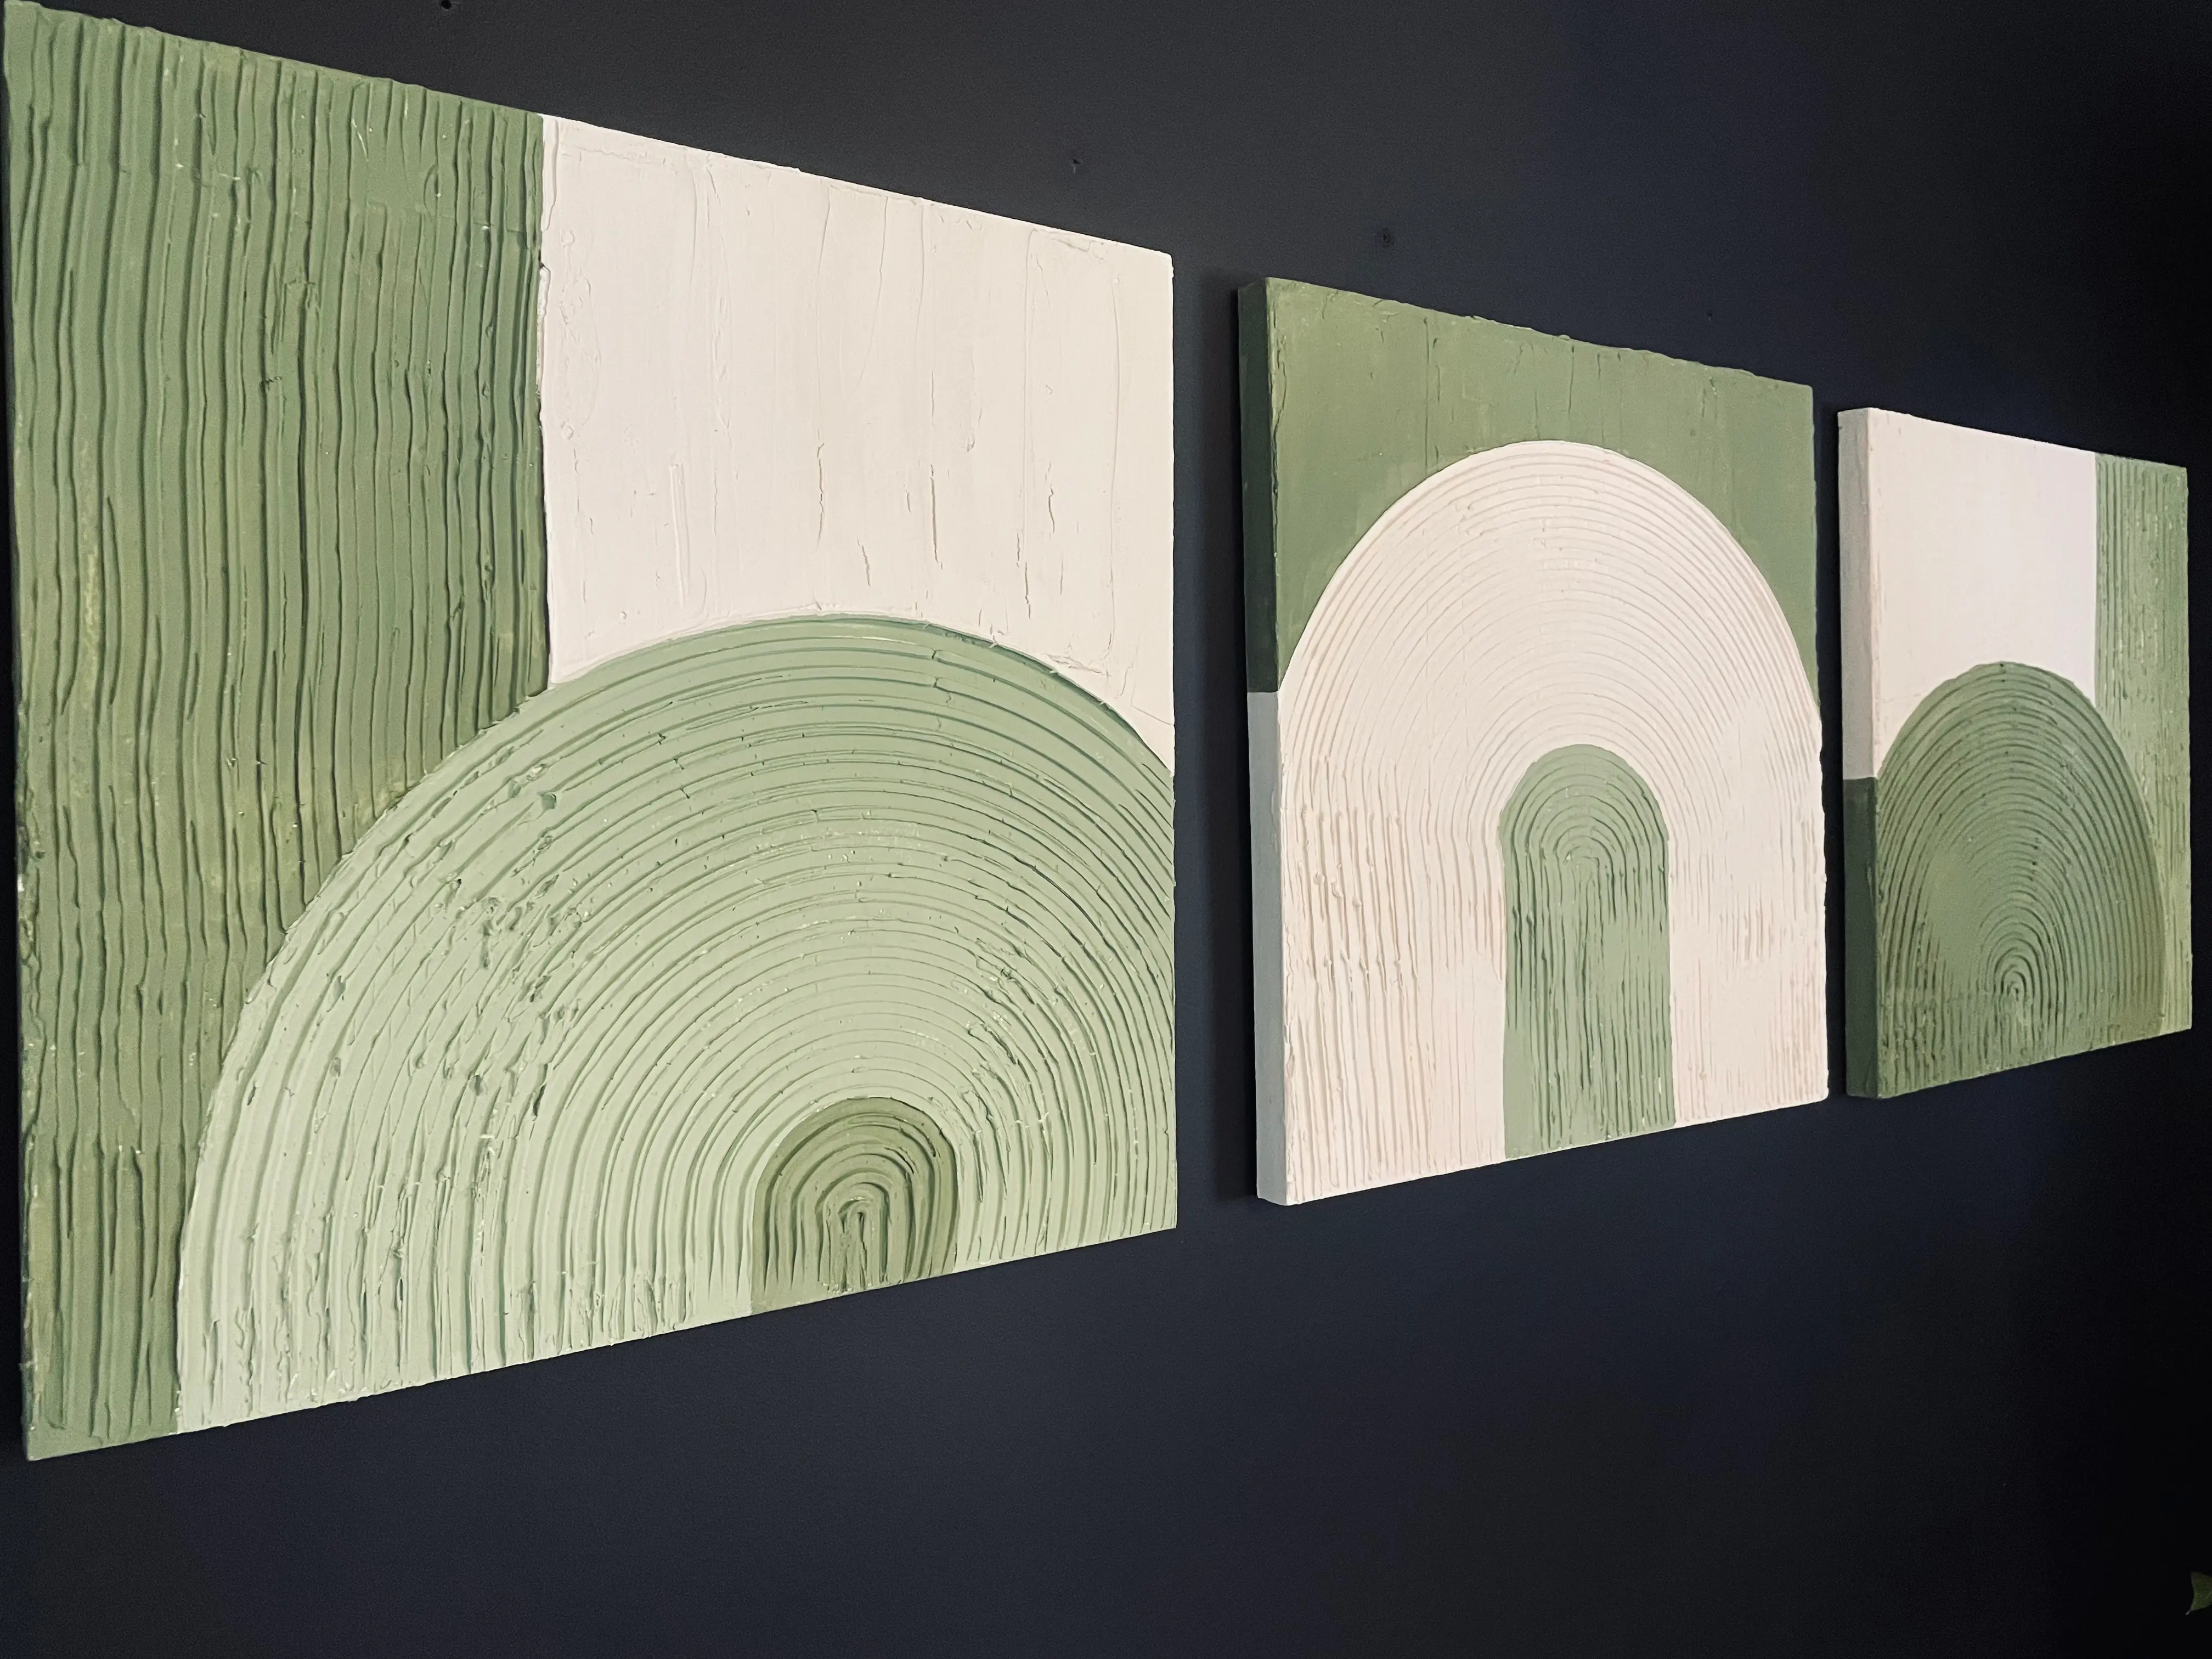
I’m really happy with how these turned out—they’re a huge improvement from what was there before. The texture adds so much interest, and the green tones tie in perfectly with the plant in the corner and the desk chair. They feel like they actually belong in the space now.
If you’ve got an empty wall and some old canvases or outdated artwork lying around, I definitely recommend giving this a try. It’s an easy, low-cost way to create something bold and custom for your home.
What I’d Do Differently
These were a lot of fun to make, and while I’m happy with how they turned out and how they look in the room, they definitely could’ve been better. I wish I’d had more time to play around with the texture—this is one of those projects where a bit of trial and error really helps. If I’d had more time, I probably would’ve scraped them down and tried a few different patterns.
I wouldn’t recommend using spackle—it was thick, tough to spread, and just not ideal for this kind of project. I liked working with the tile adhesive a lot more, but according to my husband, regular joint compound (the kind that comes in a box for drywall) is cheaper and would have a better texture for this.
All things considered, I spent a couple of hours and about $6 on paint—definitely calling this one a win.