Inspiration for Our Storage Banquette
Our open concept living and dining space is small, and the dining area especially lacked style. After working in restaurants, I loved the cozy, comfortable feel of booth seating. I wanted to bring that into our home, along with much-needed storage. I also aimed for a commercial bar/lounge vibe, which is why I decided to extend the upholstery to the ceiling and incorporate an electric fireplace in the center.
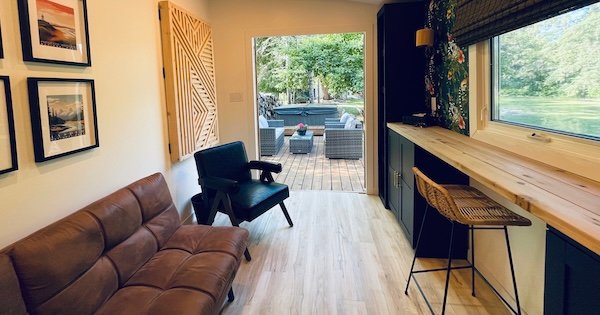
The Problem With Our Old Dining Room
It was small and boring. There wasn't anything really wrong or off about it but there wasn't anything interesting either. With the size of our 1950's home I think open concept really was the only way to go. But it all kind of felt like one room not 4 distinct spaces with style of their own.

Challenges & Considerations
The biggest challenge in designing this booth was not being able to use the ENTIRE dining room space for it. That mirrored door in the right corner leads to a much needed storage closet. I would have loved to extend it all the way to the window wall but closing off the storage closet wasn't an option.
The other big issue was how high to put the fireplace, in retrospect it should've been a bit lower.
Materials For The Built in Storage Banquette
The amounts depend on how big you decide to make your banquette and how high up the wall you want the upholstered chanels to go. While I went to the ceiling with it I think it would've looked great with only 4 chanels.
- 2 by 4's to build the bench frame
- Plywood for the bench and seat top
- Thin plywood to cut into strips for the horizontal chanels
- Screws
- Paint
- Hinges
- Saw
- Screw Driver
- Nail gun
- 1" trim strips to make the design on the front
- Foam. We used 2" for the back chanels and 3" for the seat and the lowest chanel which we made higher to give it a bit of a slope. There's a place in our city that specializes in foam and I was able to order it from them pre cut for the seat and chanels. It wasn't more expensive than buying a bunch of foam from Walmart and cutting it myself
- Batting. I used quilt batting from Walmart
- Fabric. I ordered navy blue velvet from an online fabric store. You could go to your local fabric store, I just found the online option cheaper and easier.For cleanability leather or leather like would be great.
- Spray adhesive
- Staple Gun
- Staples
- Electric Fireplace (very much optional)
The Process
Step.1 Map out where you want your banquette to be and measure. How high do you want the backing/chanels to go? Do you want to built a fireplace into it?
Step.2 Now that you have your measurements it's time to select, order and buy your tools and materials.
Step.3 Because we opted to do a fireplace our first building step was to cut a hole in the wall for the fireplace and mount it in so it would sit just an inch or two back from our chanels.
Step.4 Next we made all of the upholstered chanels. We cut plywood strips 5" by 98". Then we put some spray adhesive on the wood and stuck the foam to it. We used an electric kitchen knife to cut the corners off the foam to round them out a bit. Next we wrapped two layers of batting around the fronts and tightly stapled it to the backs. Last the fabric was wrapped around and tightly stapled to the back plywood. For the corners we just kind of played around with it but basically wrapped them like a present.
Step.5 My husband attached the panels to the wall. Going in we weren't sure how we were going to do this. The initial plan was to use construction adhesive then the plan was to use some metal strip things that we attached to the wall. What we ened up doing was screwing the plywood into the wall by putting the screws in at an angle.
Step.6 My husband built the storage bench seat by attaching the 2x4's to the wall then building out from there and closing it in with the plywood. He used hinges inside for the top to open for storage.
Step.7 After the bench top was cut and measured we put the foam, batting and fabric on the same way as we did for the chanels.
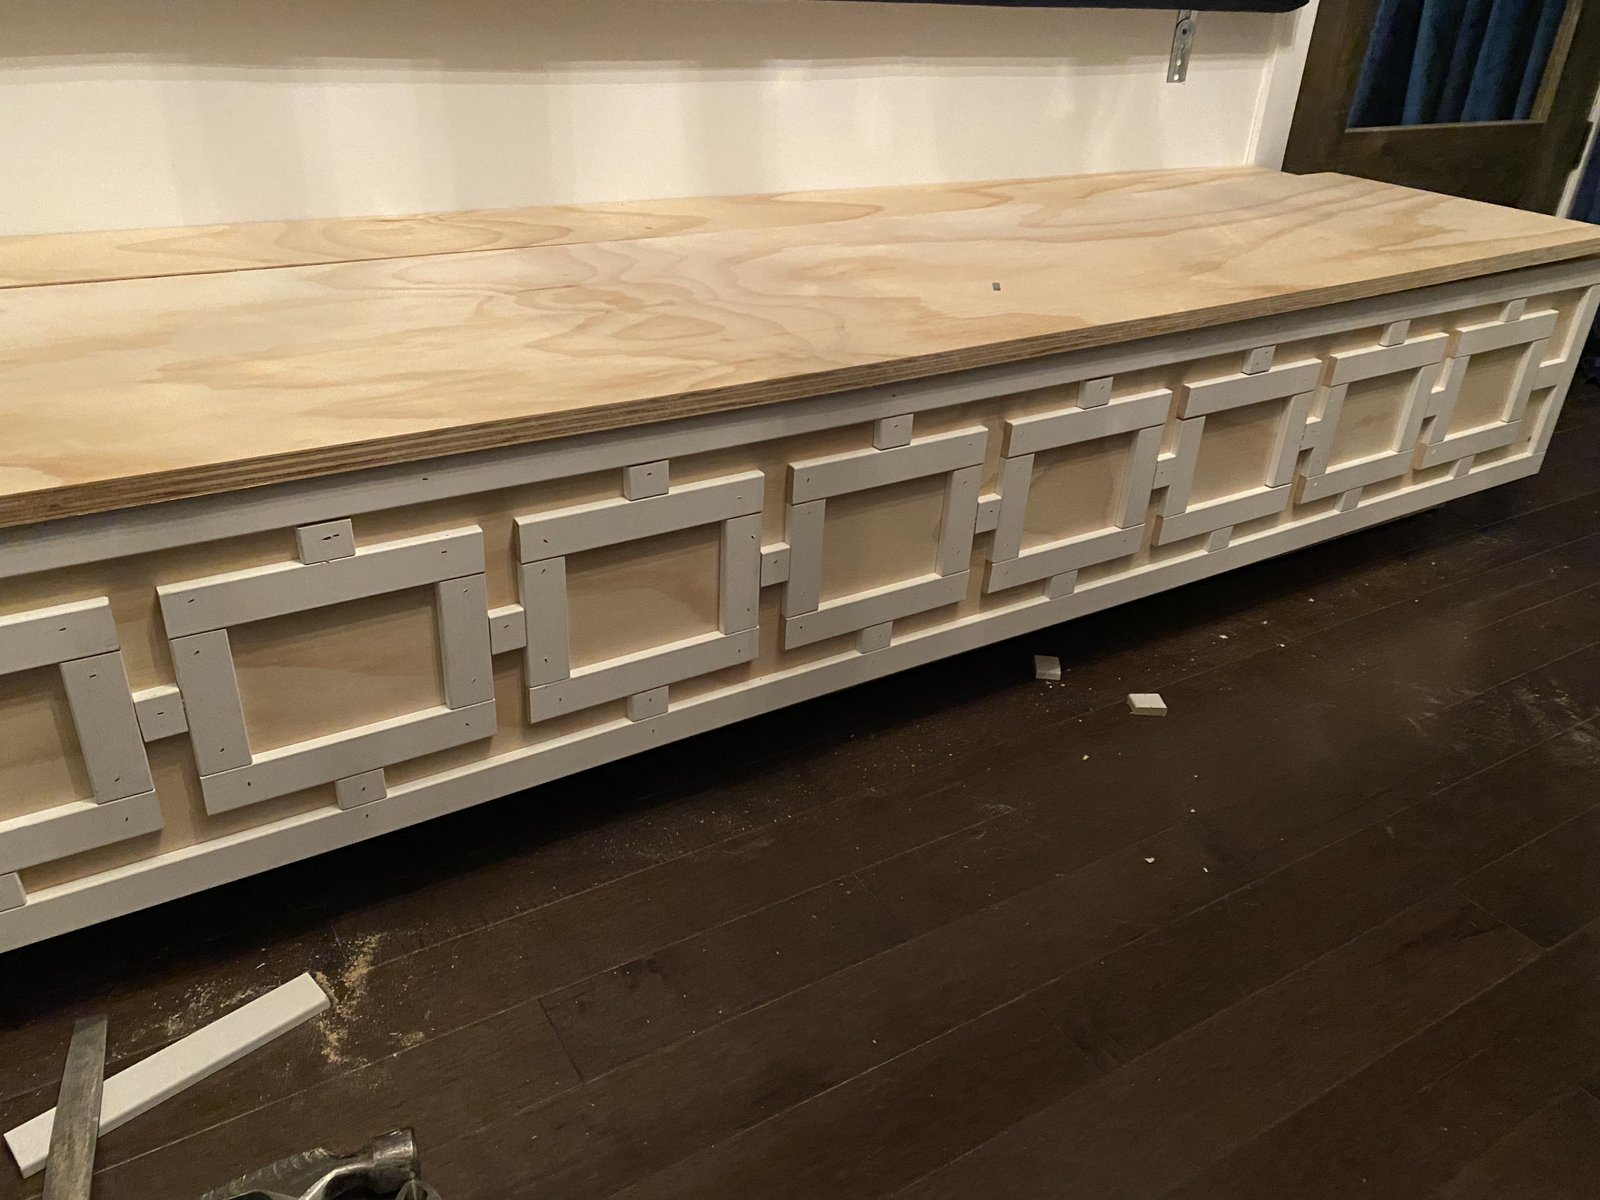
Step.8 We cut the 1" trim strips for the pattern on the front. Once there were on we caulked around them and painted the front and top white.
Step.9 The final step was attaching the bench seat!

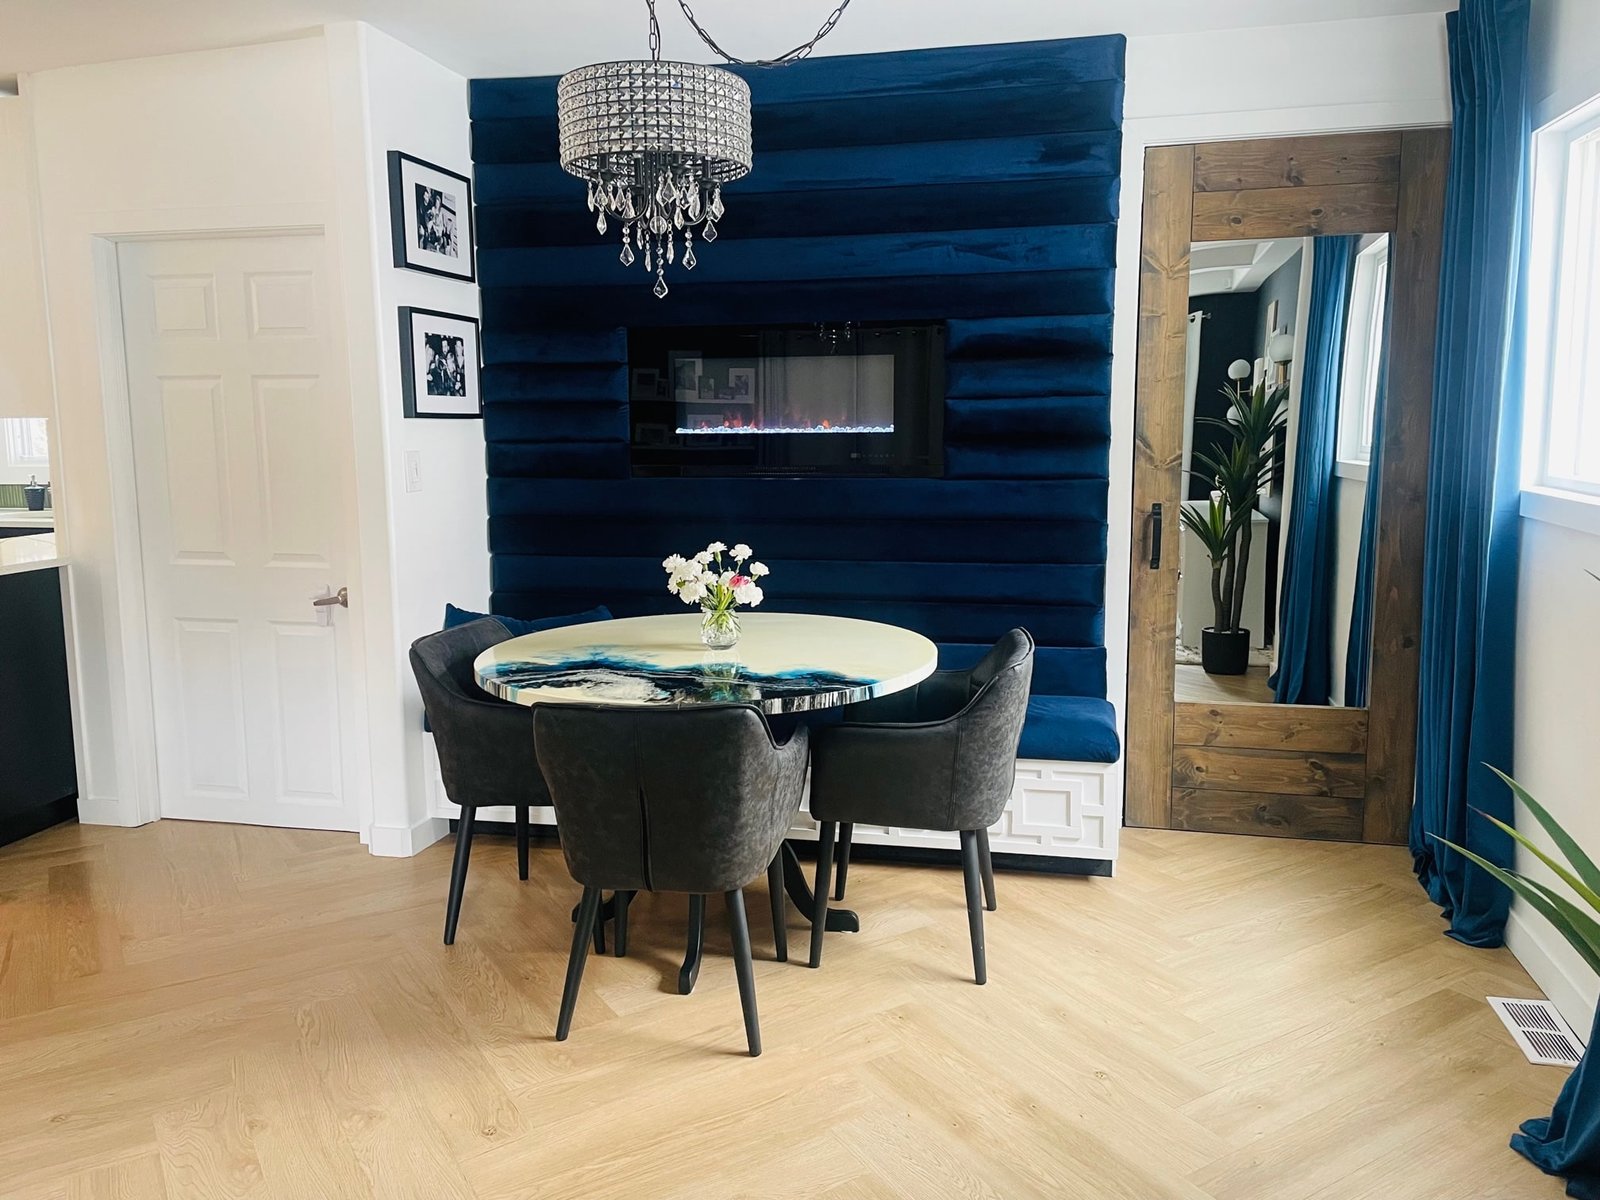
The Final Reveal...
In the end, I absolutely love how it turned out. Our home has an open-concept layout, so when you walk through the front door, you get a clear view of all the shared spaces. The banquette always catches people’s attention and is the first thing they ask about!
Design Tips, Lessons Learned & What It Cost
We were able to build this custom banquette with storage for about $1500.00. The only tools we had to purchase for this were the electric knife to cut the foam and the staple gun.
If you're on a stict budget removing the fireplace and not doing the upholstered chanels all the way to the ceiling will definitely save money. The foam, batting and fabric add up.
Design tips I absolutely loved the mirror door we built for the closet beside the banquette. But once the banquette was finished, the door felt a bit too rustic against the velvet upholstery and chandelier. The contrast between the masculine, rustic door and the feminine, glam, commercial-inspired banquette was more noticeable than I expected. So pay attention to what's around the banquette and any potential style conflicts.
I intentionally chose navy velvet fabric, fully aware it wouldn't be as easy to clean as a leather alternative. With a toddler who loves making messes on the bench seat, I've had plenty of moments scrubbing with a microfiber cloth thinking, Maybe leather would've been a better choice.
This photo was taken over four years after we built the banquette, and it’s still holding up great. The heat from the fireplace has left a few marks on the fabric where the heat vents, but they’re not too noticeable.
Lessons Learned
My only regret was not investing more in the fireplace. I was trying to keep the budget reasonable, but I wish the rocks at the bottom had a bit more sparkle. One of those gas models with the round stones might have looked great there too.
On the topic of fireplace regrets, I think we positioned it a channel or two too high. We based the height more on where the heat would hit us when sitting nearby, rather than focusing on the overall look. Considering we live in a cold climate and built this during winter, it made sense at the time to prioritize warmth.
I hope our DIY dining room banquette inspires you to create something beautiful in your own home. The effort is absolutely worth it!